
DIY Home Energy Savings: Seal Air Leaks with Caulk in 2024!
Tune into the Soligo Podcast to learn even more home energy tips and tricks.
Did you know that the average home loses up to 30% of its heated or cooled air through leaks and cracks? That's like throwing money out the window! But don't worry, I've got great news for you.
By learning how to seal air leaks with caulk, you can slash your energy bills by 10-20% and make your home more comfortable year-round. It's an easy DIY project that anyone can tackle in just a few hours. Let's dive in and discover how you can become a caulking pro in 2024!
1. Understanding Air Leaks: The Silent Energy Thieves
Air leaks are the sneaky culprits behind excessive energy consumption in many homes. These invisible intruders can significantly impact your comfort and wallet. Let's take a closer look at what you need to know about air leaks:
Types of common air leaks in homes:
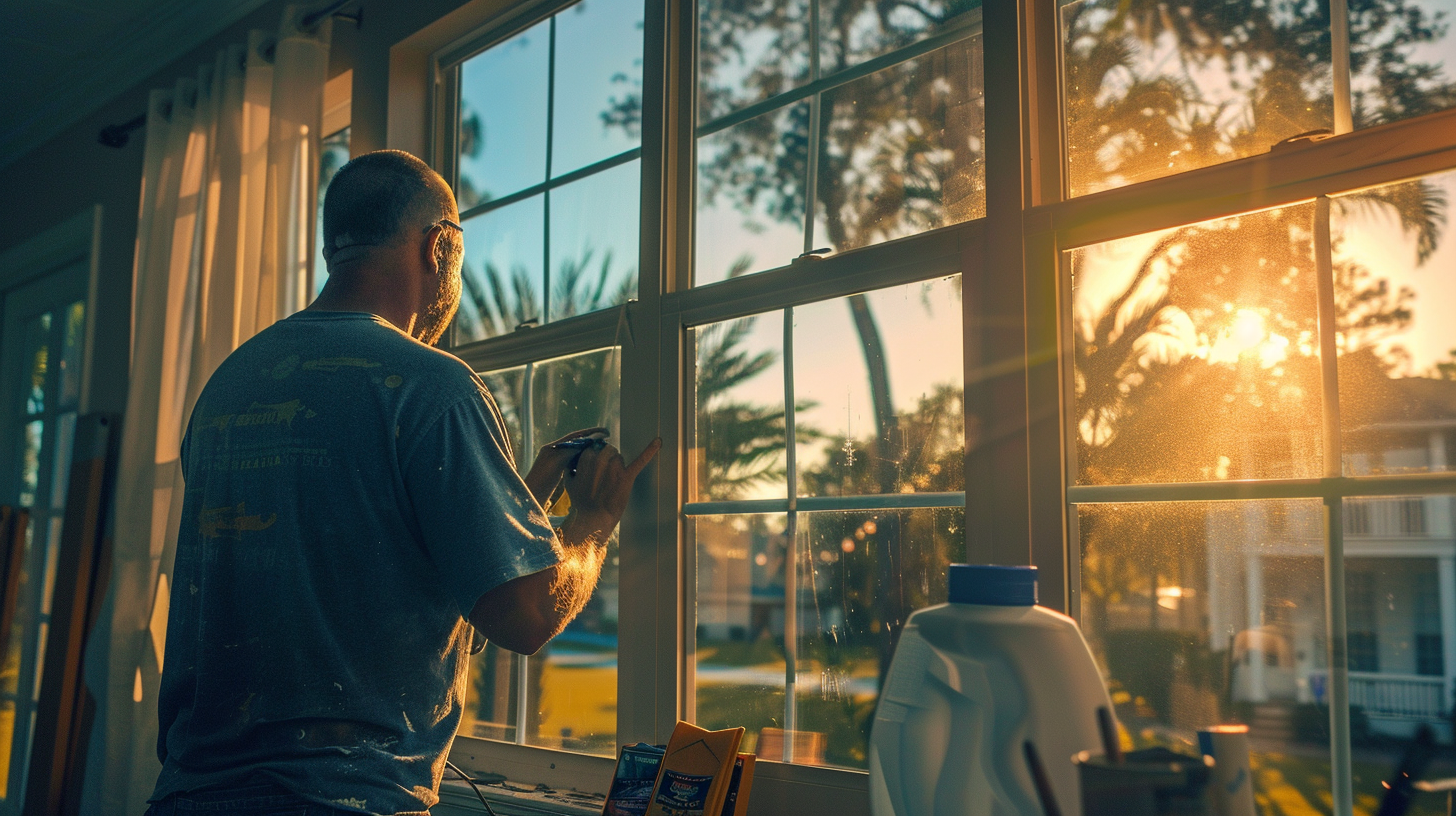
Window and door frames
Electrical outlets
Plumbing penetrations
Baseboards and trim
Attic hatches
Recessed lighting fixtures
How air leaks impact energy efficiency and comfort:
Increased heating and cooling costs
Drafty rooms
Uneven temperature distribution
Reduced indoor air quality
Signs that your home may have air leaks:
Visible gaps or cracks
Drafts near windows and doors
Higher than expected energy bills
Cold floors or walls
2. Caulk: Your Secret Weapon Against Air Leaks
Caulk is an incredibly versatile and effective tool for sealing air leaks. Understanding the different types and their applications is crucial for a successful project.

Different types of caulk and their uses:
Silicone caulk: Ideal for bathrooms and kitchens due to its water-resistant properties
Latex caulk: Easy to use and paintable, perfect for interior gaps
Acrylic caulk: Great for exterior use and can be painted
Choosing the right caulk for your project:
Consider the location (interior vs. exterior)
Think about the materials you're sealing
Factor in flexibility and durability needs
Essential tools for caulking success:
Caulking gun
Caulk smoothing tool
Utility knife
Cleaning supplies
3. Preparing for Your Caulking Project
Proper preparation is key to achieving professional-looking results. Follow these steps to set yourself up for success:
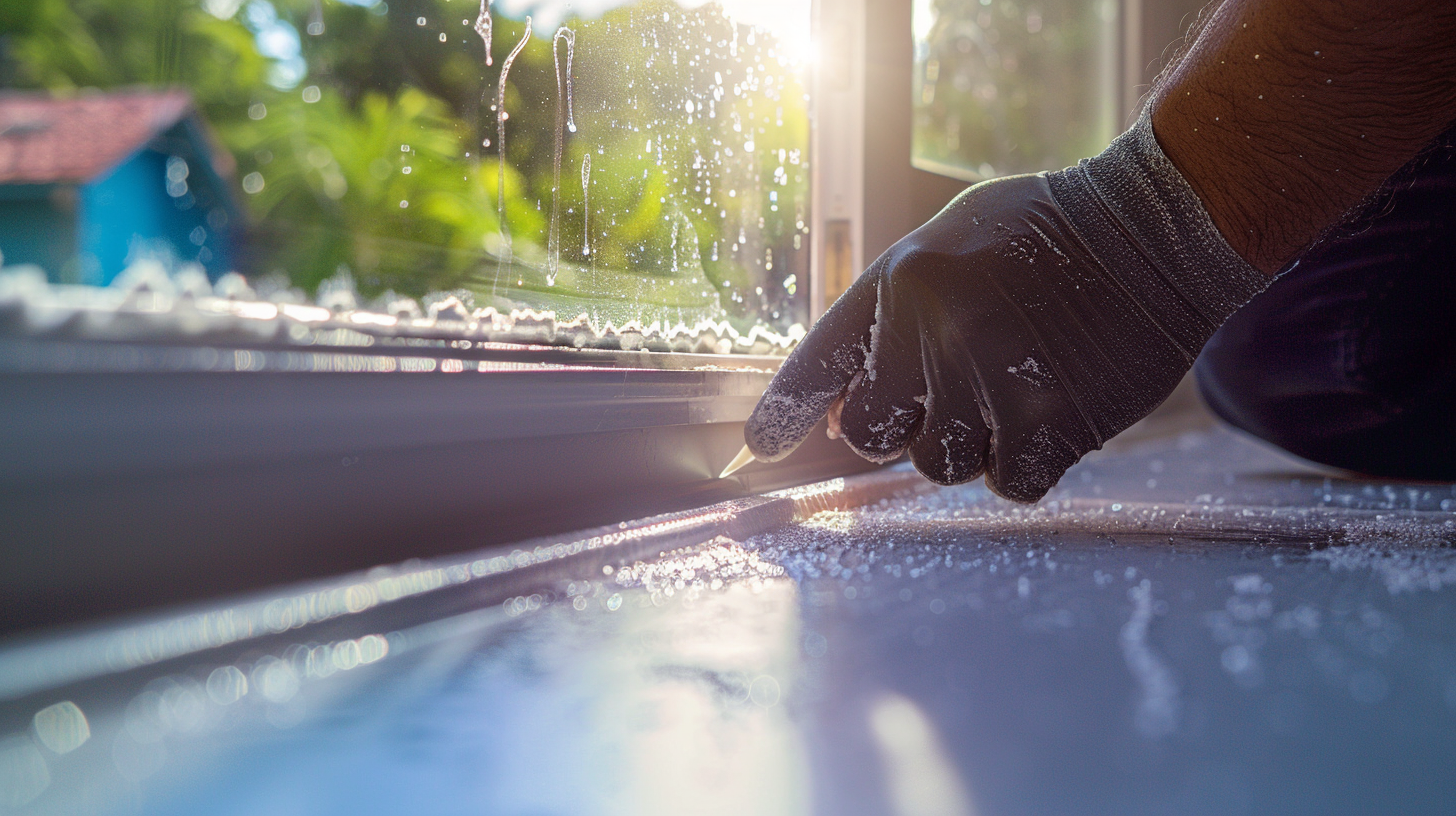
Identifying areas that need caulking:
Conduct a visual inspection of your home
Use the "candle test" to detect drafts
Consider hiring a professional for an energy audit
Cleaning and prepping surfaces:
Remove old caulk with a utility knife or caulk removal tool
Clean surfaces thoroughly with soap and water
Allow surfaces to dry completely before applying new caulk
Safety precautions and best practices:
Work in a well-ventilated area
Wear gloves and eye protection
Read and follow manufacturer's instructions
4. Step-by-Step Guide to Sealing Air Leaks with Caulk
Now that you're prepared, it's time to start caulking! Follow these steps for the best results:
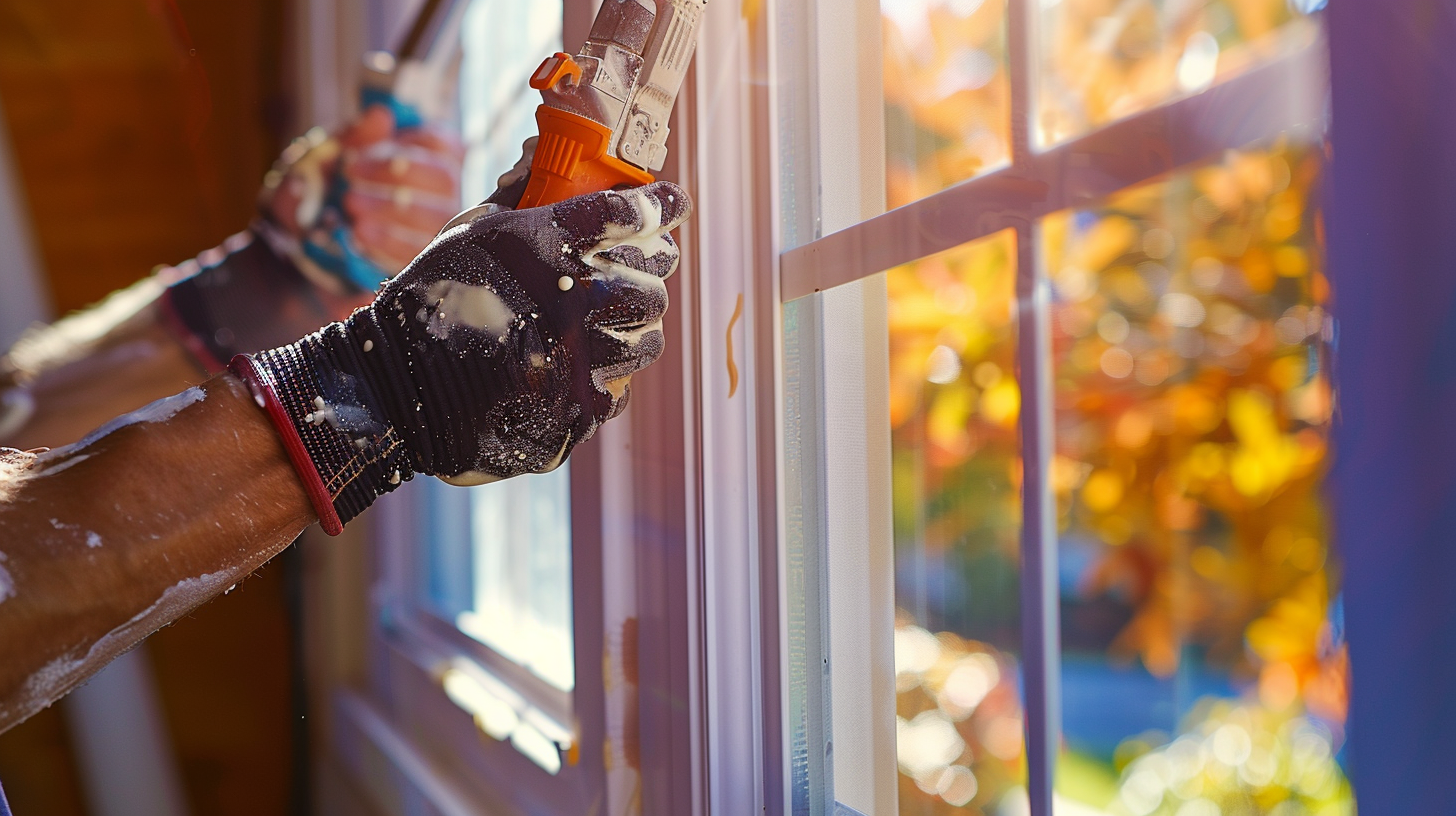
Loading the caulking gun:
Cut the caulk tube nozzle at a 45-degree angle
Pierce the inner seal with a long nail or wire
Insert the tube into the caulking gun
Proper caulking technique:
Hold the gun at a 45-degree angle to the joint
Apply steady pressure while moving along the gap
Maintain a consistent speed for an even bead
Smoothing and finishing the caulk bead:
Use a caulk smoothing tool or your finger (wear gloves!)
Remove excess caulk with a damp cloth
Allow the caulk to dry completely before painting or exposing to moisture
5. Tackling Common Caulking Challenges
Some areas of your home may require special attention. Here's how to handle them:
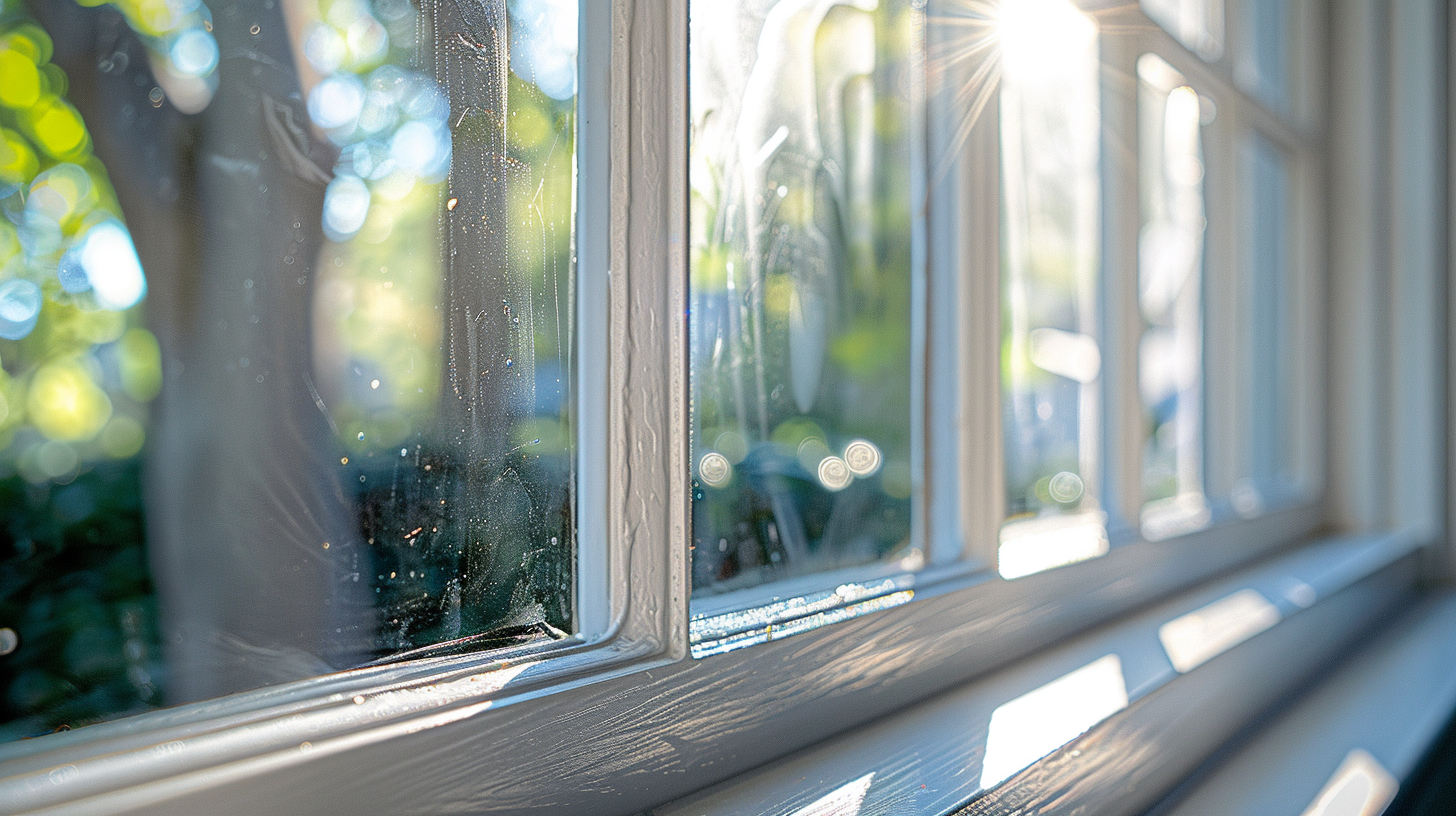
Caulking around windows and doors:
Focus on the area where the frame meets the wall
Use a backer rod for larger gaps before applying caulk
Sealing baseboards and trim:
Apply a thin bead along the top and bottom edges
Wipe away excess immediately for a clean look
Addressing larger gaps and cracks:
Use expanding foam for gaps wider than 1/4 inch
Allow foam to cure before trimming and caulking
6. Maximizing Energy Savings: Beyond Caulking
While caulking is a great start, there are other steps you can take to boost your home's energy efficiency:

Combining caulking with weatherstripping:
Use weatherstripping on movable components like doors and windows
Pair with caulk for a complete air sealing solution
Additional insulation tips:
Add insulation to your attic, walls, and floors
Insulate around electrical outlets and switch plates
Energy-efficient upgrades to consider:
Install Energy Star certified windows and doors
Upgrade to a programmable or smart thermostat
Invest in energy-efficient HVAC systems
By implementing these strategies alongside your caulking efforts, you'll create a more comfortable and energy-efficient home environment.
Conclusion
Now that you're armed with the knowledge to seal air leaks with caulk, you're ready to take control of your home's energy efficiency! Remember, this simple DIY project can lead to significant savings on your energy bills and create a more comfortable living environment. Click here to learn more about the project from the Department of Energy!
Don't let those pesky air leaks continue to drain your wallet – grab that caulking gun and get to work! Your future self (and your bank account) will thank you. Happy caulking!